A new computer might have been fast when you first bought it, but over time, it can slow down. This issue isn’t just about speed—it can also lead to the computer freezing or hanging often, which can be really annoying. It’s important to get your computer checked regularly. Regular use can cause some wear and tear, so you shouldn’t service it too often. Today, Gizbot is sharing some tips to help you make your computer faster.
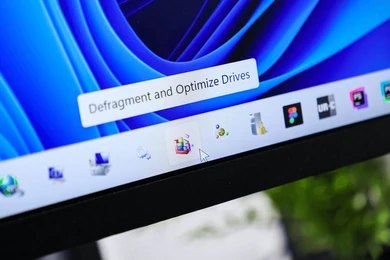
Disk Defragmentation and Optimization Guide
Defragmentation is a way to organize all the scattered files on your computer so they’re in one place.
It also helps remove unnecessary files from the disk. So, doing defragmentation at least once a month can help improve your computer’s performance.
How to Defrag a Hard Drive on Windows
Defragmentation is easy to do.
You can do it in two ways. First, go to the Start menu and type “defragmentation” in the search box. If you don’t find it there, go to the Start menu and click on “All Programs.” Then, under “All Programs,” click on “Accessories.” Under “Accessories,” click on “System Tools.” Then click on “Disk Defragmentation.” Click on “Disk Defragmentation.” A window will appear asking you to select which disk to defragment. For example, if you’re given the option of “C” or “D” drive, pick “C” and click the “Defragmentation” button below. The defragmentation process will start. Do not turn off your computer or use any other programs during this process.
Windows Disk Cleanup Step by Step
Go to All Programs and select Accessories.
Under Accessories, click System Tools.
Under System Tools, click Disk Cleanup.
After clicking Disk Cleanup, a small panel will appear, showing options like the Recycle Bin and Browsing History.
You can select all the options if you want.
Your system will then be cleaned up.